Valentine's Day Offer ❤︎ 15% off All Pillows!
Instructions on how to assemble your Obasan 9", 10", 12", Child, or Baby Mattress.
1. Locate the cutter to unwrap plastic packaging. Carefully cut the bag using the cutter. Do this step slowly to ensure that the cutter doesn’t get caught in the organic cotton fabric. The mattress will slowly expand. Make sure no pets or kids around when opening your mattress.

2. Lay the cover over a foundation or solid-slatted base, so that the open end is at the head of the bed and the canvas (diamond pattern is on the bottom.) The Obasan logo should be on the left side and at the foot of the bed.
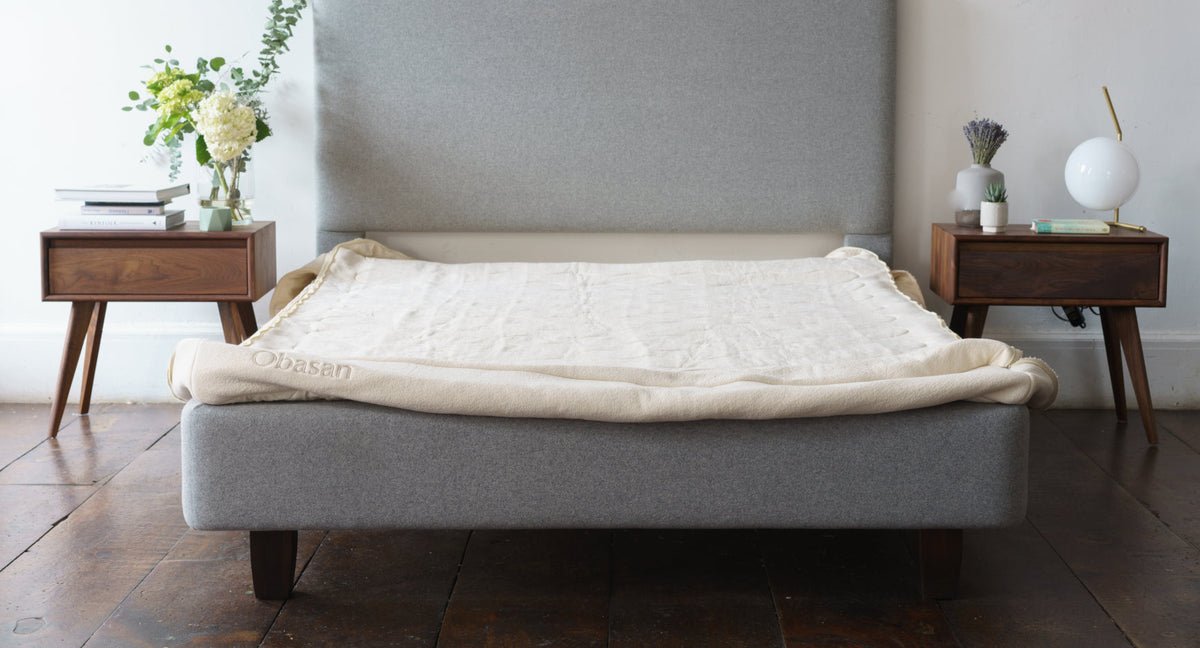
3. Pull all corners of the cover down over your foundation so that the cover is tightly wrapped around it like shown on the picture. When using a slatted base, just make sure the corners are fully stretched out ready for the rubber layers to be placed in it.
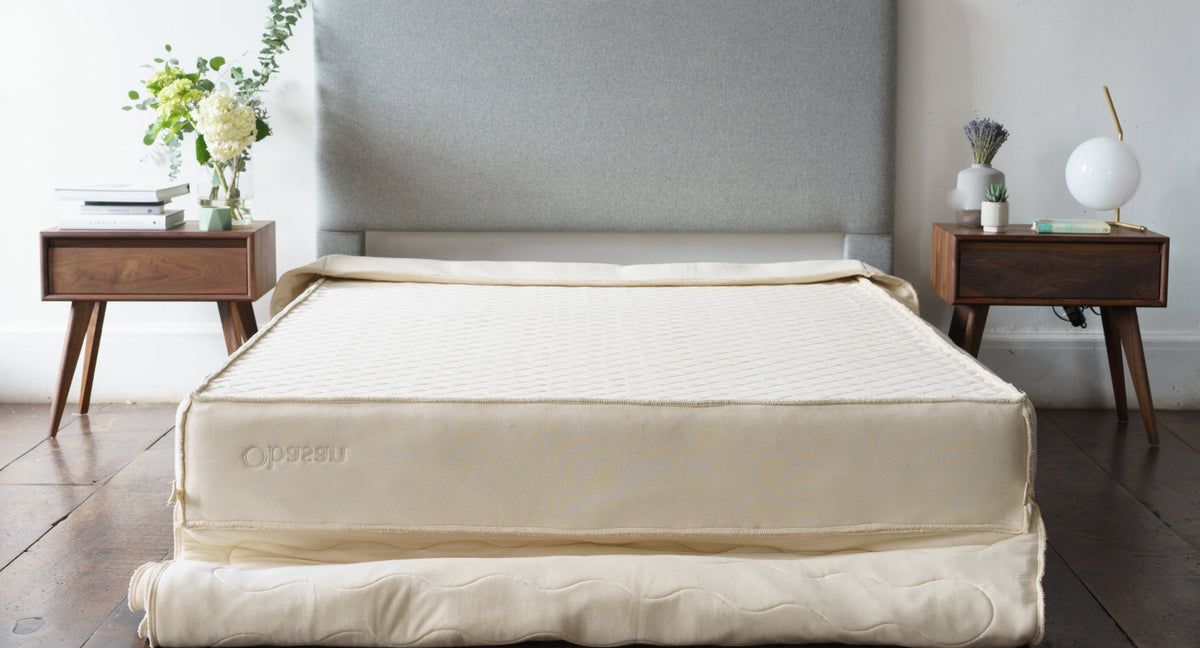
4. You will notice that each piece of rubber has a small label that identifies the firmness.
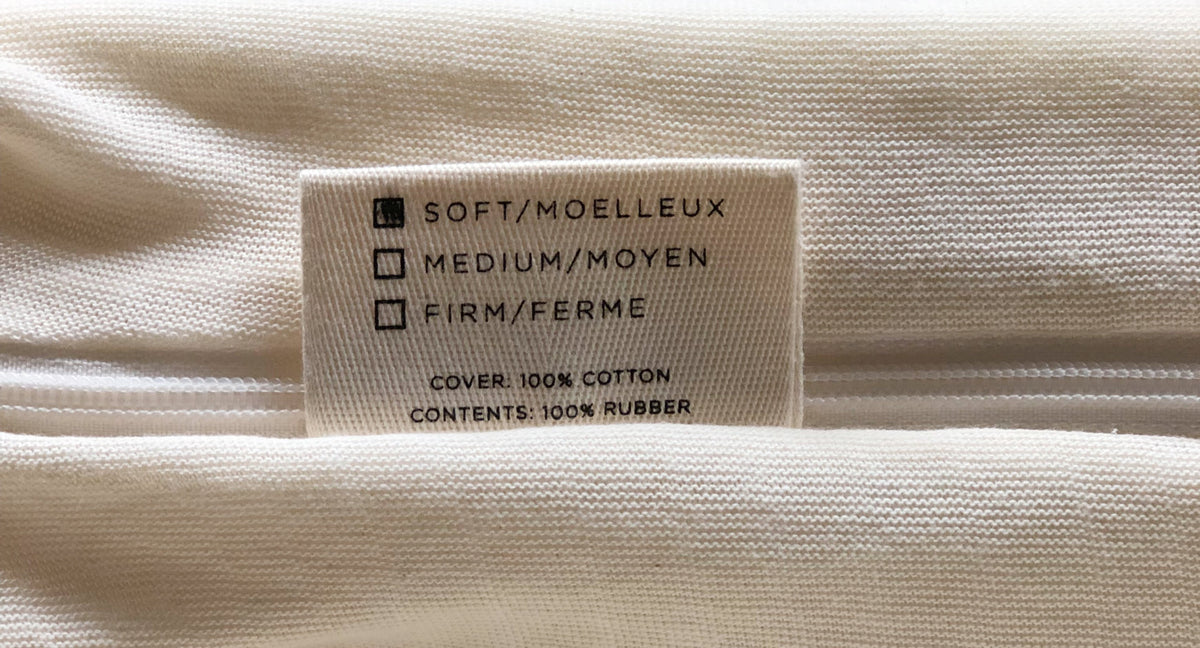
5. Start by placing the 3” firm base layer on the cover. Make sure that the rubber layer meets each corner of the covering and lines up with the foundation.
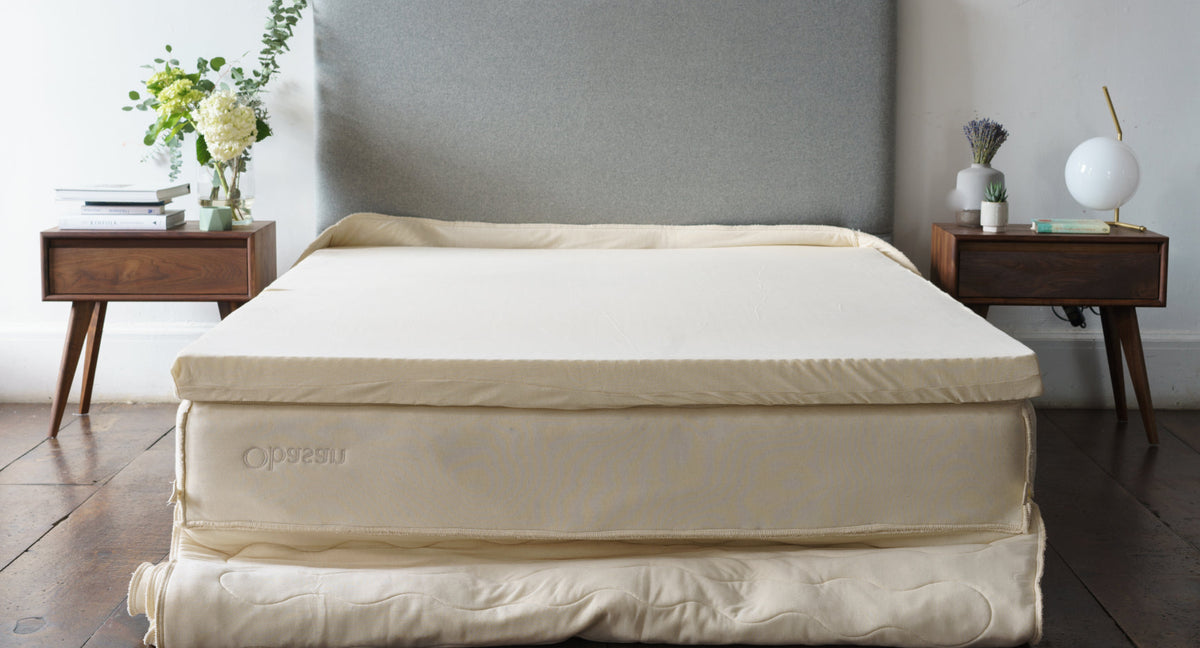
6. You may then place the 3” middle layer(s) right on top of the base layer. There are 2 separate pieces for each side of the bed for Queen, King and Cal. King size mattresses and only 1 piece for Twin, Twin XL and Double. Place the correct firmness on each side based on what your sleep expert has recommended.
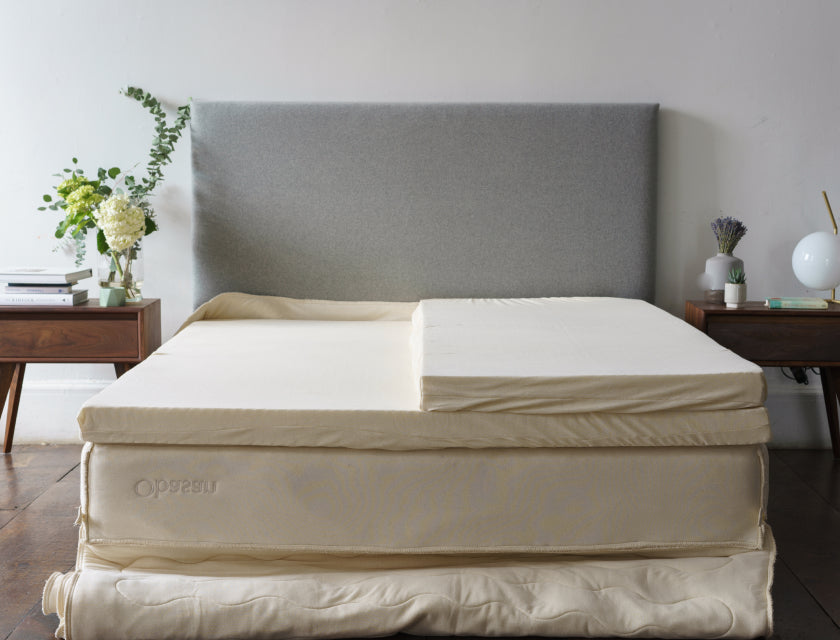
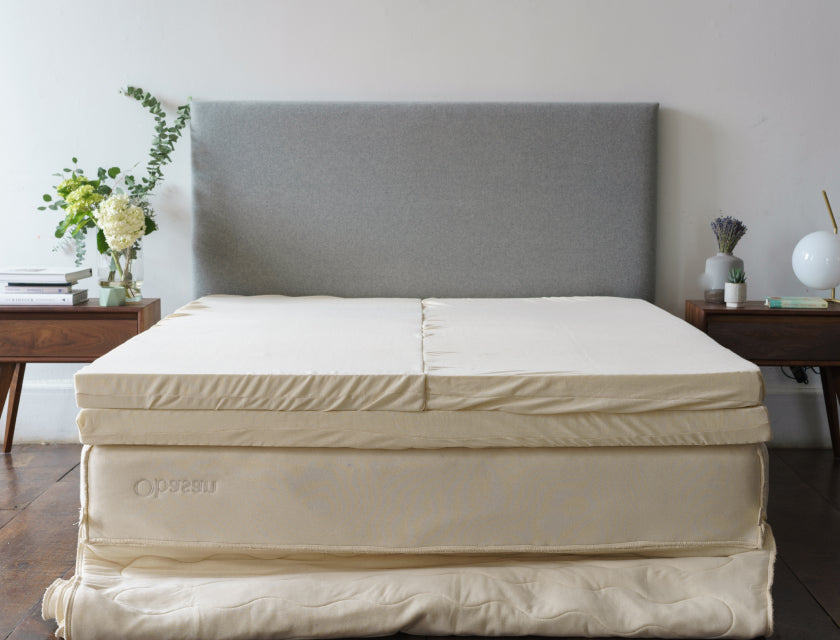
7. The last piece will be the 3” soft rubber top layer. Always make sure that this piece is well aligned and nicely squared with the other pieces.
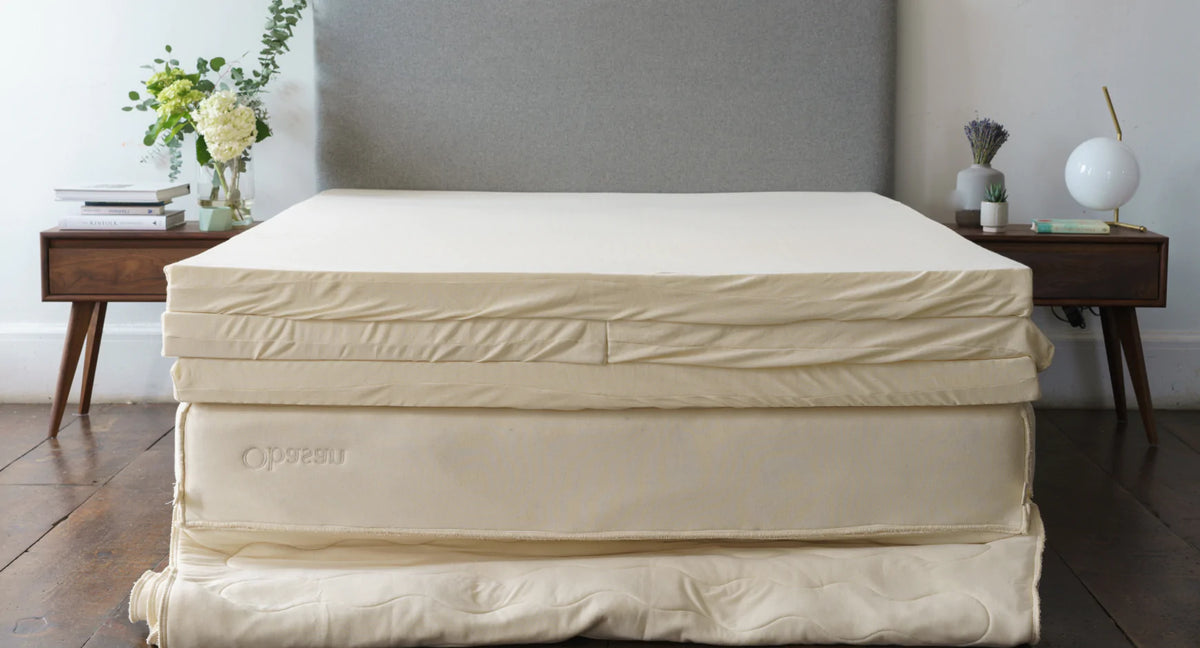
8. Once all the rubber pieces are layered, you may now pull the cover panels off the sides of the foundation and over the surface of the mattress.
9. Carefully check that the rubber layers are fully squared in each corner of the cover.
10. Now, pull the top of the cover tightly over the mattress. Start zipping each side of the bed while pulling down on the top of the cover to relieve stress on the zipper.
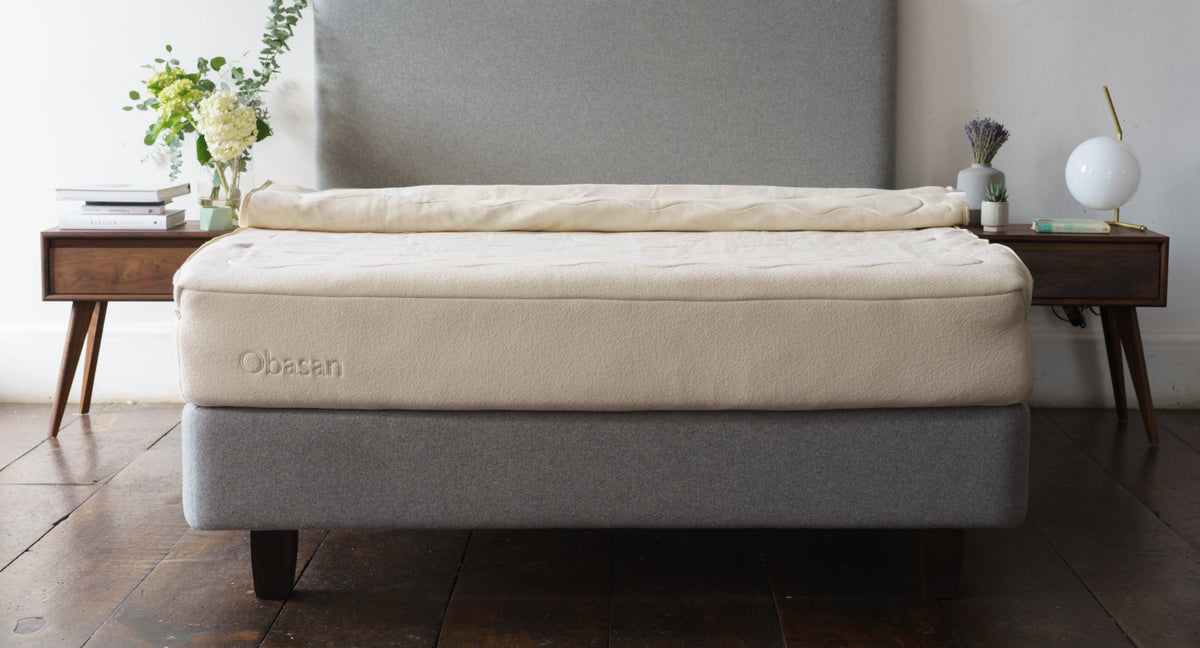
11. The two zippers should meet at the head of the bed.
12. Place your protector over the mattress, and you’re ready for your first nap!
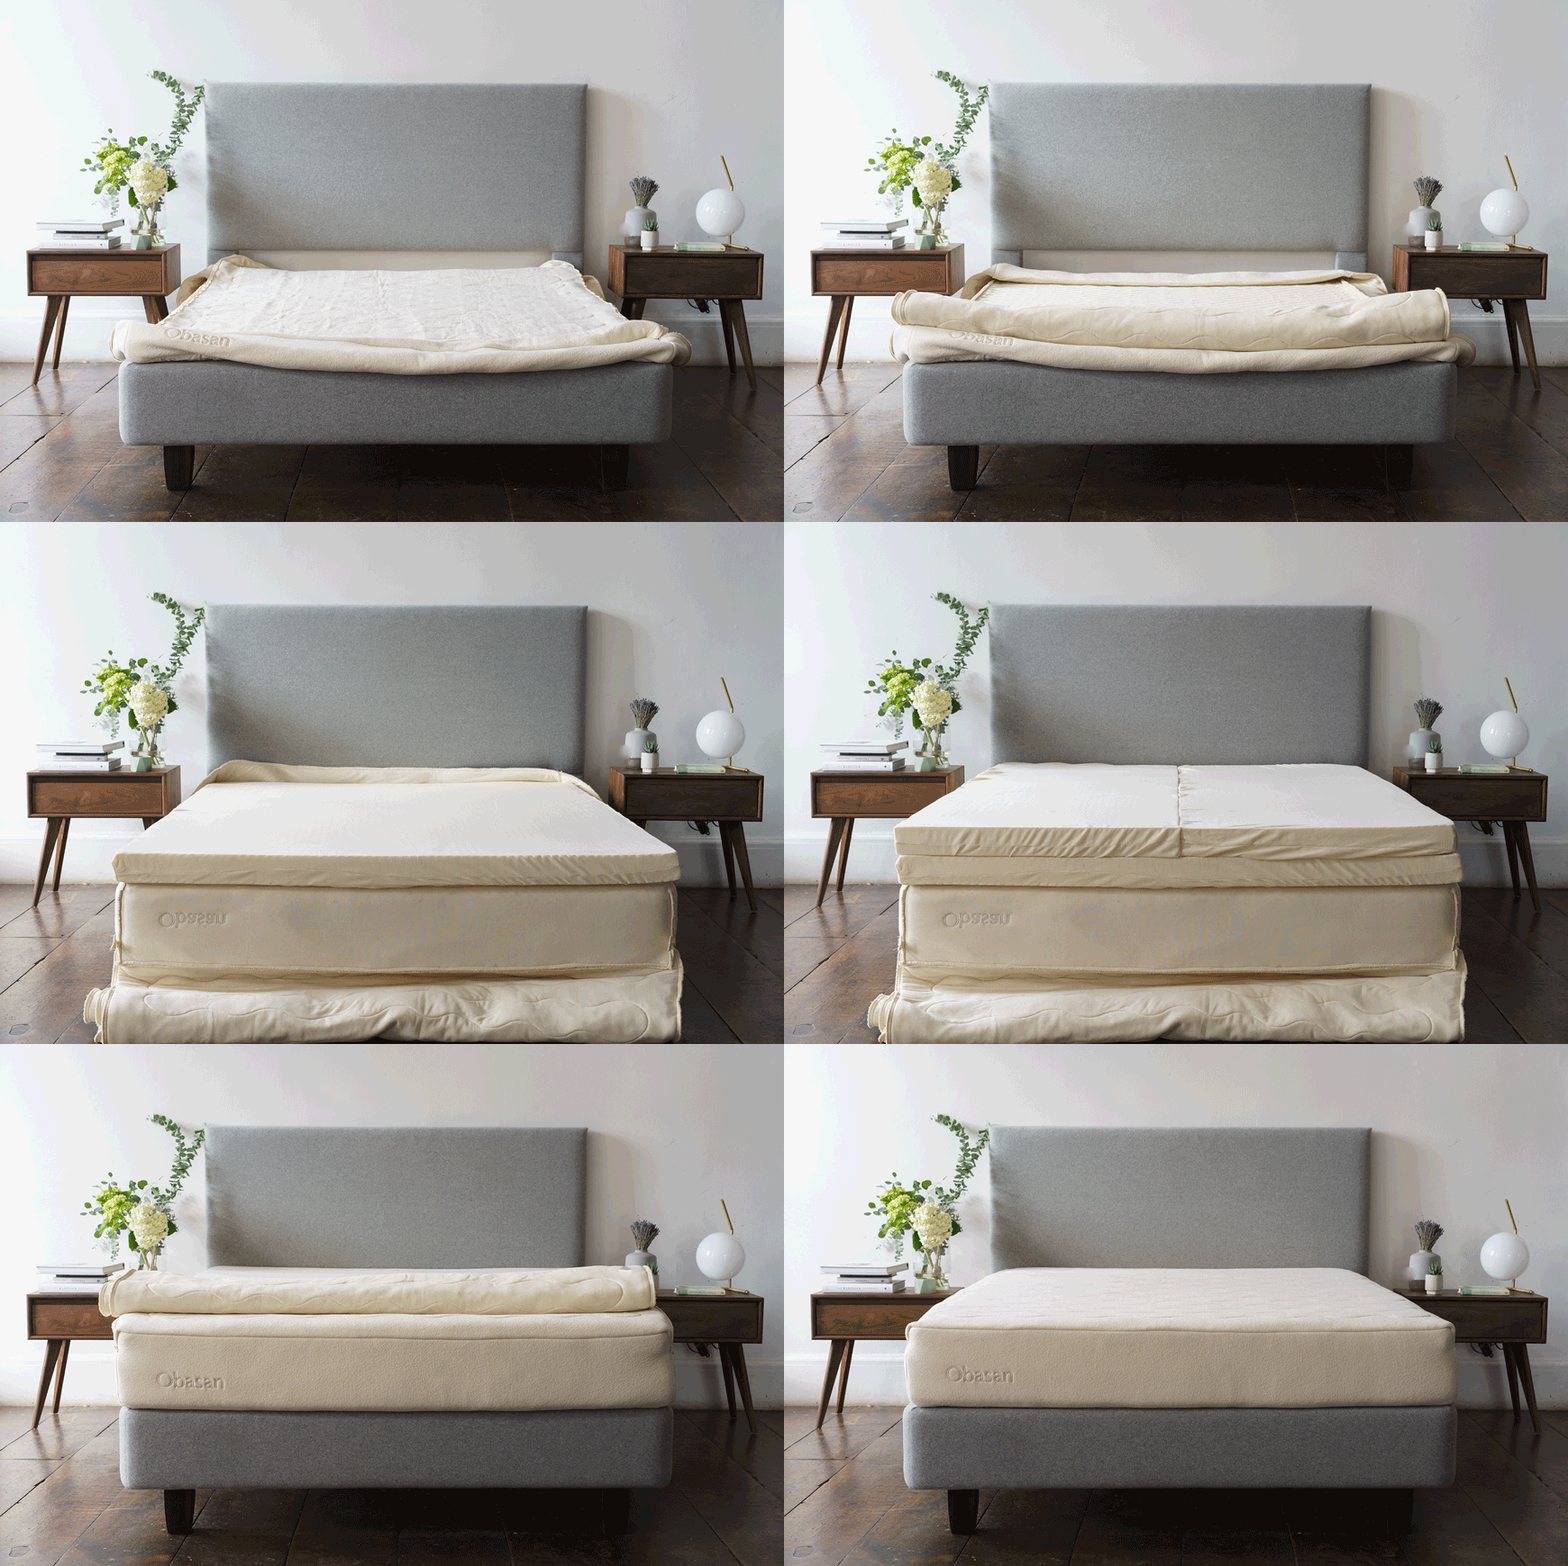
1. Locate the cutter to unwrap plastic packaging. Carefully cut the bag using the cutter. Do this step slowly to ensure that the cutter doesn’t get caught in the organic cotton fabric. The mattress will slowly expand. Make sure no pets or kids around when opening your mattress.

2. Lay the cover over a foundation or solid-slatted base, so that the open end is at the head of the bed and the canvas (diamond pattern is on the bottom.) The Obasan logo should be on the left side and at the foot of the bed.

3. Pull all corners of the cover down over your foundation so that the cover is tightly wrapped around it like shown on the picture. When using a slatted base, just make sure the corners are fully stretched out ready for the rubber layers to be placed in it.

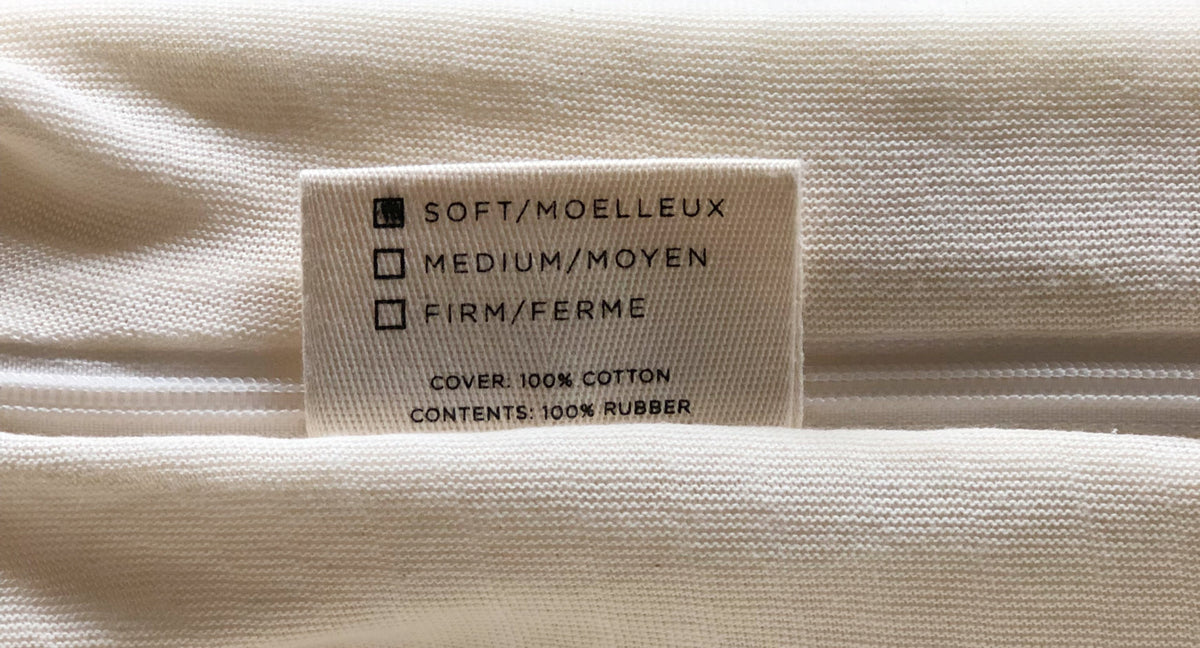
4. You will notice that each piece of rubber has a small label that identifies the firmness.
5. Start by placing the 4” firm and/or medium base layer(s) on the cover. (Please note that Twin, TwinXL and Double mattresses will only have 1 base layer piece and Queen, King and Cal.King will have 2 pieces). Please review your sleep experts recommended arrangement to place the proper layer on the proper sleeper’s side. Make sure that the rubber layer meets each corner of the covering and lines up with the foundation.
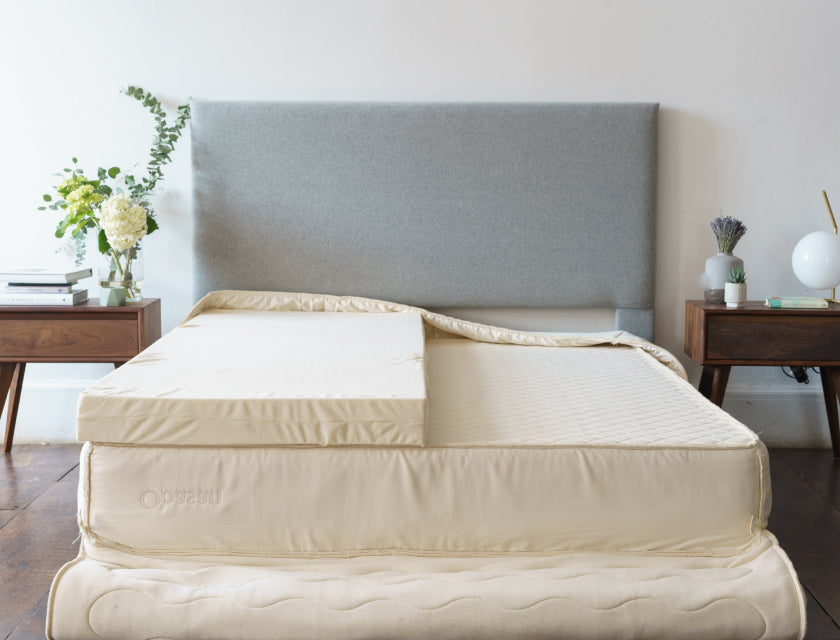
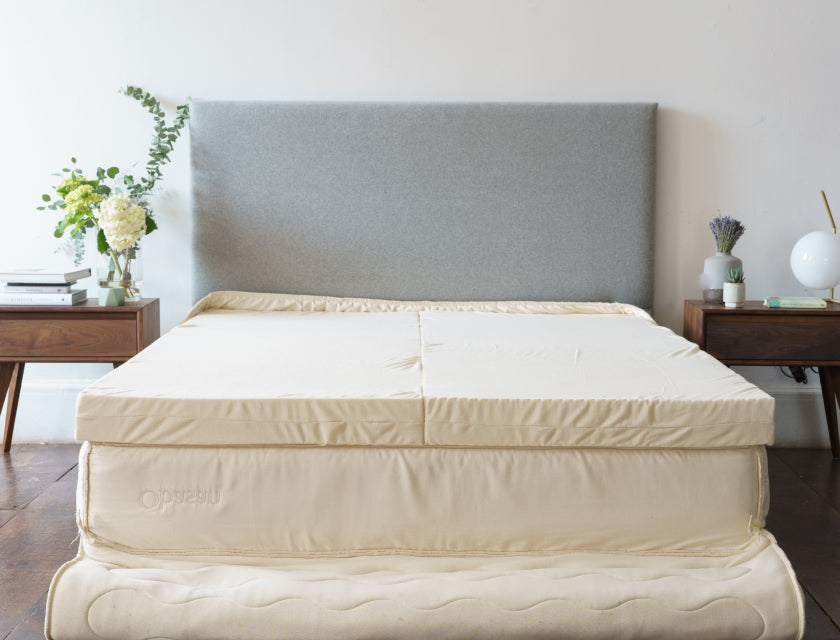
6. You may then place the 4” middle pieces right on top of the base layer(s). There are a total of 6 pieces for Queen, King and Cal. King and a total of 3 pieces for Twin, TwinXL and Double. Place the correct pieces on each side based on what your sleep expert has recommended.
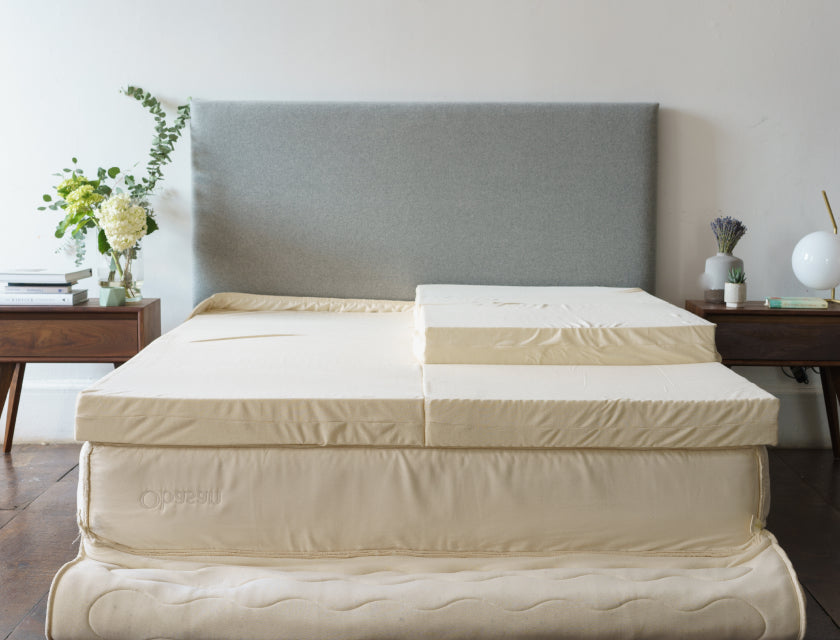
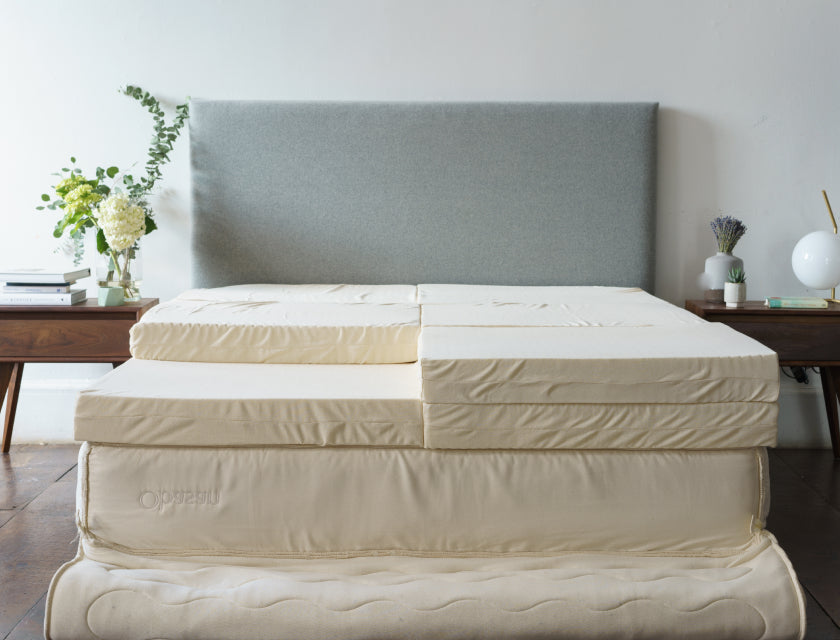
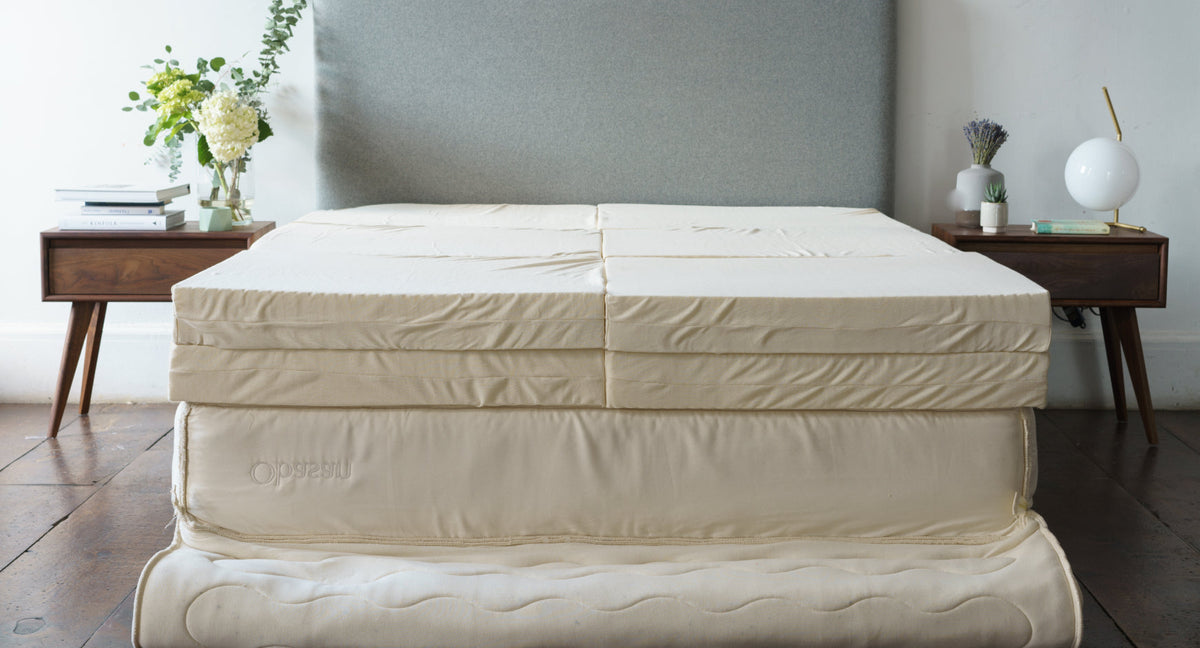
7. The last piece will be the 2” soft rubber top layer. Always make sure that this piece is well aligned and nicely squared with the other pieces.
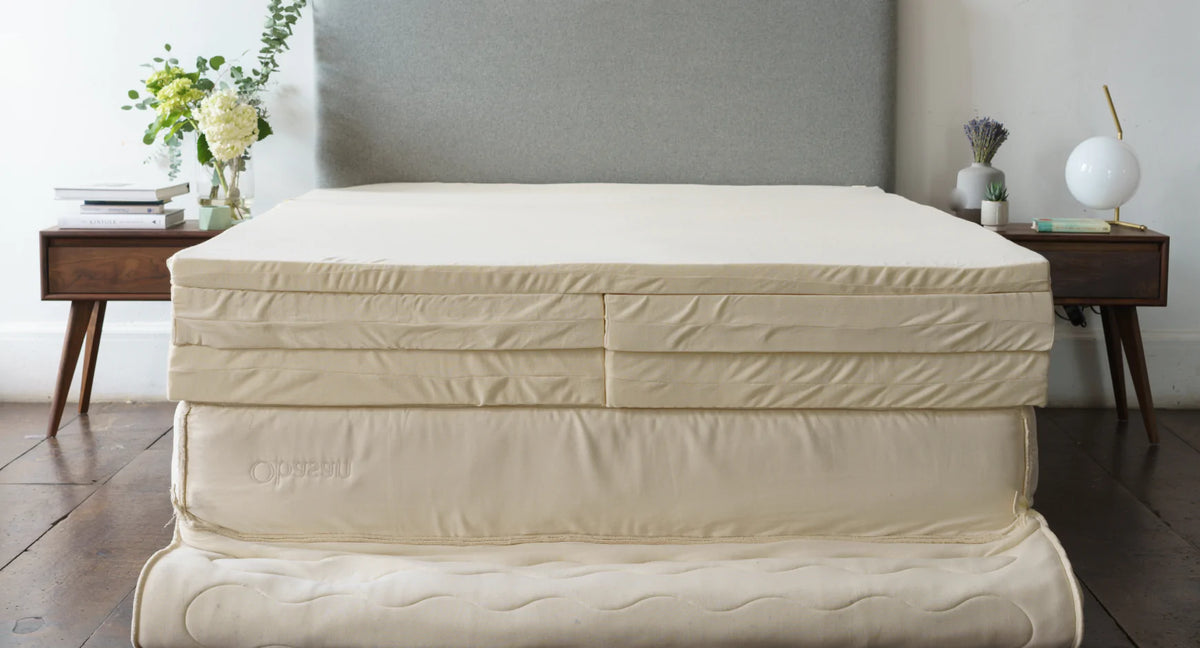
8. Once all the rubber pieces are layered, you may now pull the cover panels off the sides of the foundation and over the surface of the mattress.
9. Carefully check that the rubber layers are fully squared in each corner of the cover.
10. Now, pull the top of the cover tightly over the mattress. Start zipping each side of the bed while pulling down on the top of the cover to relieve stress on the zipper.
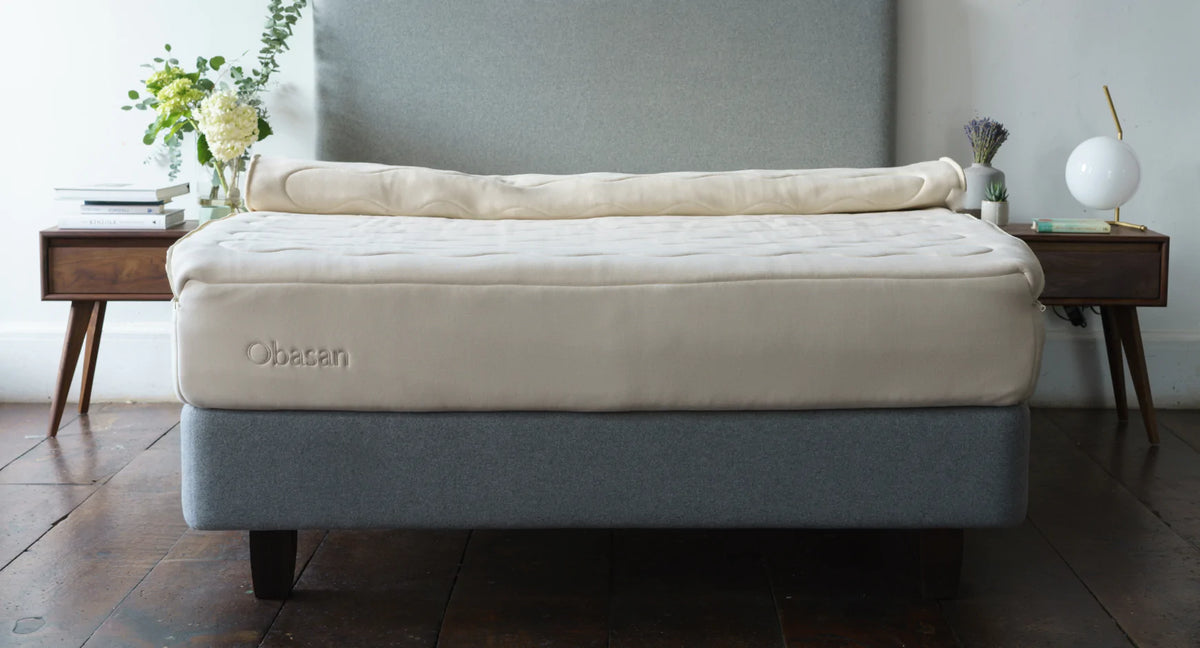
11. The two zippers should meet at the head of the bed.
12. Place your protector over the mattress, and you’re ready for your first nap!
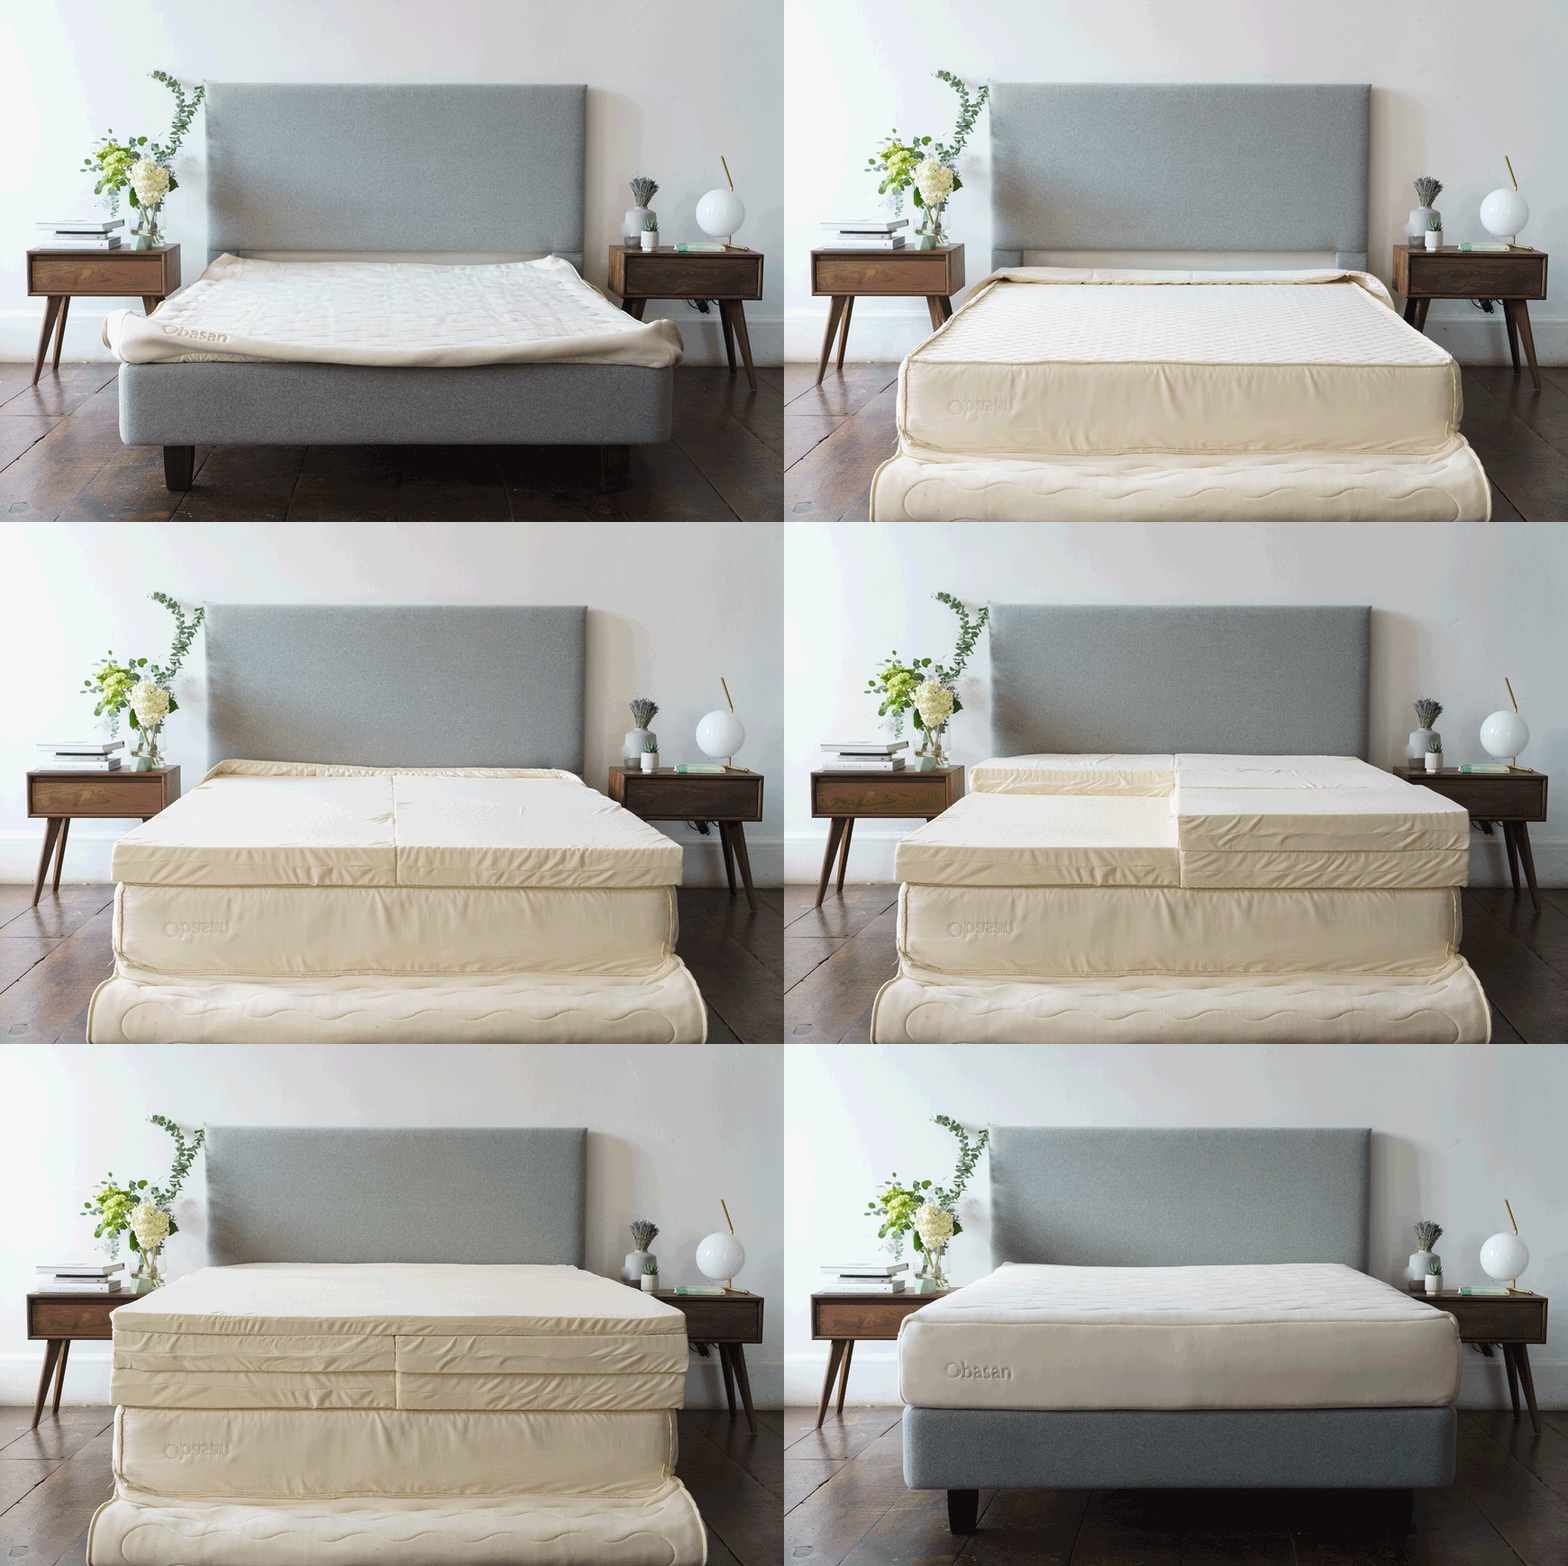
1. Locate the cutter to unwrap plastic packaging. Carefully cut the bag using the cutter. Do this step slowly to ensure that the cutter doesn’t get caught in the organic cotton fabric. The mattress will slowly expand. Make sure no pets or kids around when opening your mattress.

2. Lay the cover over a foundation or solid-slatted base, so that the open end is at the head of the bed and the canvas (diamond pattern is on the bottom.) The Obasan logo should be on the left side and at the foot of the bed.
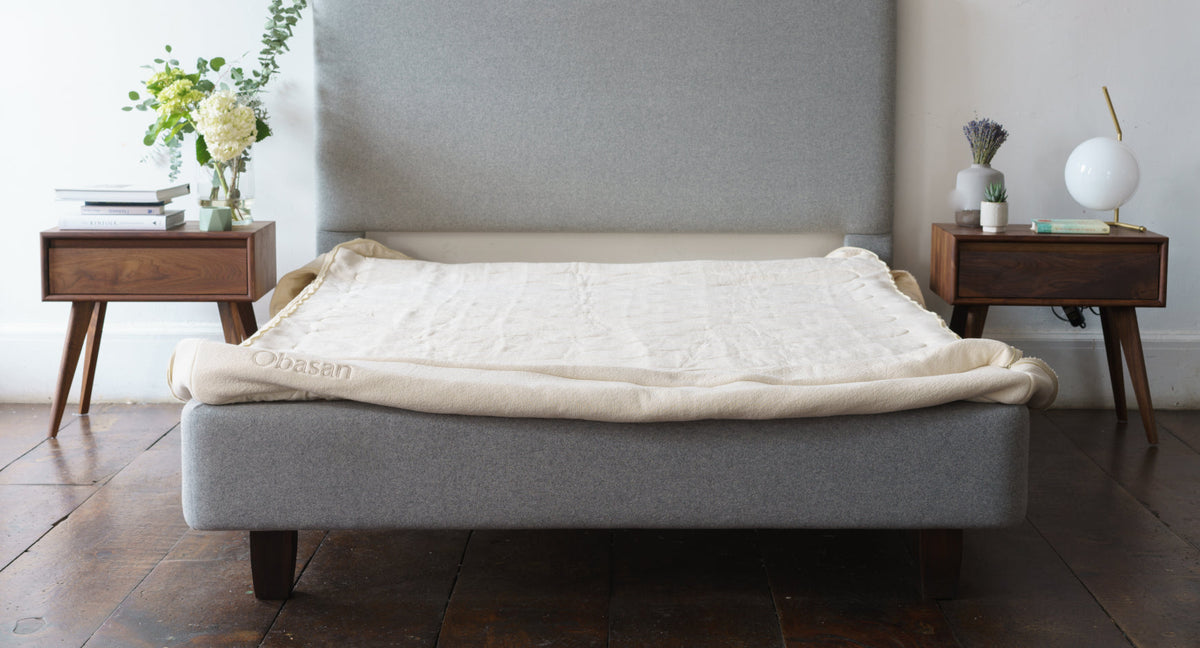
3. Pull all corners of the cover down over your foundation so that the cover is tightly wrapped around it like shown on the picture. When using a slatted base, just make sure the corners are fully stretched out ready for the rubber layers to be placed in it.

4. You will notice that each piece of rubber has a small label that identifies the firmness.

5. Start by placing the 4” firm and/or medium base layer(s) on the cover. (Please not that Twin, TwinXL and Double mattresses will only have 1 base layer piece and Queen, King and Cal.King will have 2 pieces). Please review your sleep experts recommended arrangement to place the proper layer on the proper sleeper’s side. Make sure that the rubber layer meets each corner of the covering and lines up with the foundation.


6. You may then place the 4” middle pieces right on top of the base layer(s). There are a total of 6 pieces for Queen, King and Cal. King and a total of 3 pieces for Twin, TwinXL and Double. Place the correct pieces on each side based on what your sleep expert has recommended.


7. The last piece will be the 4” soft rubber top layer. Always make sure that this piece is well aligned and nicely squared with the other pieces.
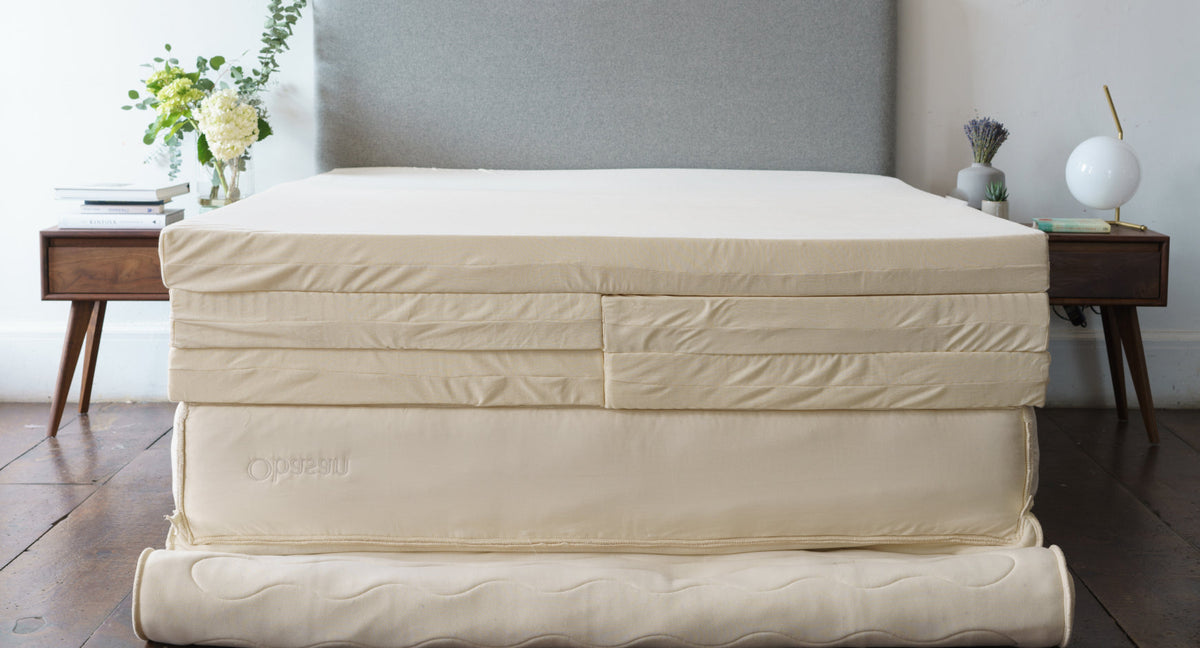
8. Once all the rubber pieces are layered, you may now pull the cover panels off the sides of the foundation and over the surface of the mattress.
9. Carefully check that the rubber layers are fully squared in each corner of the cover.
10. Now, pull the top of the cover tightly over the mattress. Start zipping each side of the bed while pulling down on the top of the cover to relieve stress on the zipper.

11. The two zippers should meet at the head of the bed.
12. Place your protector over the mattress, and you’re ready for your first nap!

Essential Organic Mattress Assembly Instructions

If needed, adjust the layers as you go to keep everything aligned and squared inside the cover.
Child
1. Locate the cutter to unwrap plastic packaging.
2. Insert the cutter and begin to open your mattress.

3. The mattress will slowly expand. Make sure no pets or kids around when unwrapping. This model is dual-sided; you can use either the firm side or the medium side. The top side of the mattress is medium and the bottom side is firm. You can base yourself on the logo to know which side is which.
4. Lay the mattress over our foundation or solid-slatted base. When using a slatted base, please make sure the gaps in between is not wider than 3” apart and that they are very sturdy. Please do not hesitate to call us to make sure that your kid’s mattress is properly supported.
5. Place your protector over the mattress, and your child is ready for a healthy and cozy sleep!
Baby
1. Locate the cutter to unwrap plastic packaging.
2. Insert the cutter and follow the dotted line to unwrap the mattress.

3. The mattress will slowly expand. Make sure no pets or kids around when unwrapping.
4. Unfold the mattress. Since it was tightly rolled, you may have to manipulate the mattress to make it flat again or leave it rolled side down on a flat surface overnight for it to regain it’s shape.
5. Place your protector over the mattress, and your baby is ready for a healthy sleep!